
How to Enable Auto-Expanding Archives in Exchange Online with PowerShell
Managing ever-growing mailboxes in Microsoft 365 can be a significant challenge for administrators. As users accumulate years of emails, hitting storage quotas becomes a real concern. Thankfully, Exchange Online Archiving provides a powerful solution: the Auto-Expanding Archive feature. This allows for practically unlimited archiving space, ensuring your users never run out of room.
In this guide, we'll walk you through the entire process of enabling Auto-Expanding Archives for multiple users using PowerShell. We'll also cover how to monitor archive sizes, verify the setup, and troubleshoot common issues.
Prerequisites: What You Need First
Before you begin, make sure you have the following:
- Correct Licensing: Auto-expanding archiving is a premium feature. Users must have one of the following licenses:
- Microsoft 365 E3/E5/A3/A5/G3/G5
- Office 365 E3/E5/A3/A5/G3/G5
- Exchange Online Plan 2
- An Exchange Online Plan 1 license plus an Exchange Online Archiving add-on license.
- Administrator Permissions: You need to be a Global Administrator or have the Exchange Administrator role in Microsoft 365.
- PowerShell: The Exchange Online PowerShell V2 module (or later) must be installed on your computer.
First Time with PowerShell? Here’s How to Start
If you're new to PowerShell, don't worry. It's simple to get started. No special directory is needed for these commands.
- Press the Windows Key + R to open the "Run" dialog.
- Type
powershelland press Enter or click OK. - A blue terminal window will open. You're now ready to run the commands below!

Step 1: Connect to Exchange Online PowerShell
First, you need to establish a secure connection to your Exchange Online environment. Run the following command and sign in with your admin credentials when prompted.
# Install the module if you haven't already
Install-Module -Name ExchangeOnlineManagement -AllowClobber -Force

# Connect using your admin account
Connect-ExchangeOnline -UserPrincipalName [email protected]
Replace [email protected] with your actual Microsoft 365 administrator account.
Step 2: Enable Auto-Expanding Archive for Multiple Users
You can enable this feature for an entire organization or for specific users. Here, we'll focus on enabling it for a defined list of users for targeted management.
First, ensure the users already have an archive mailbox enabled. If not, the following script will enable both the archive and the auto-expanding feature.
# Define a list of user principal names (emails)
$users = @(
    "[email protected]",
    "[email protected]",
    "[email protected]",
    "[email protected]"
)

# Loop through each user and enable their archive and auto-expansion
foreach ($user in $users) {
    Write-Host "Processing user: $user" -ForegroundColor Yellow

    # First, enable the main archive if it's not already
    Enable-Mailbox -Identity $user -Archive

    # Then, enable the auto-expanding feature
    Enable-Mailbox -Identity $user -AutoExpandingArchive

    Write-Host "Successfully enabled auto-expanding archive for $user." -ForegroundColor Green
}
Step 3: Verify Auto-Expanding Archive Status
After running the script, it’s crucial to verify that the feature was enabled correctly. This command checks the status for each user in your list.
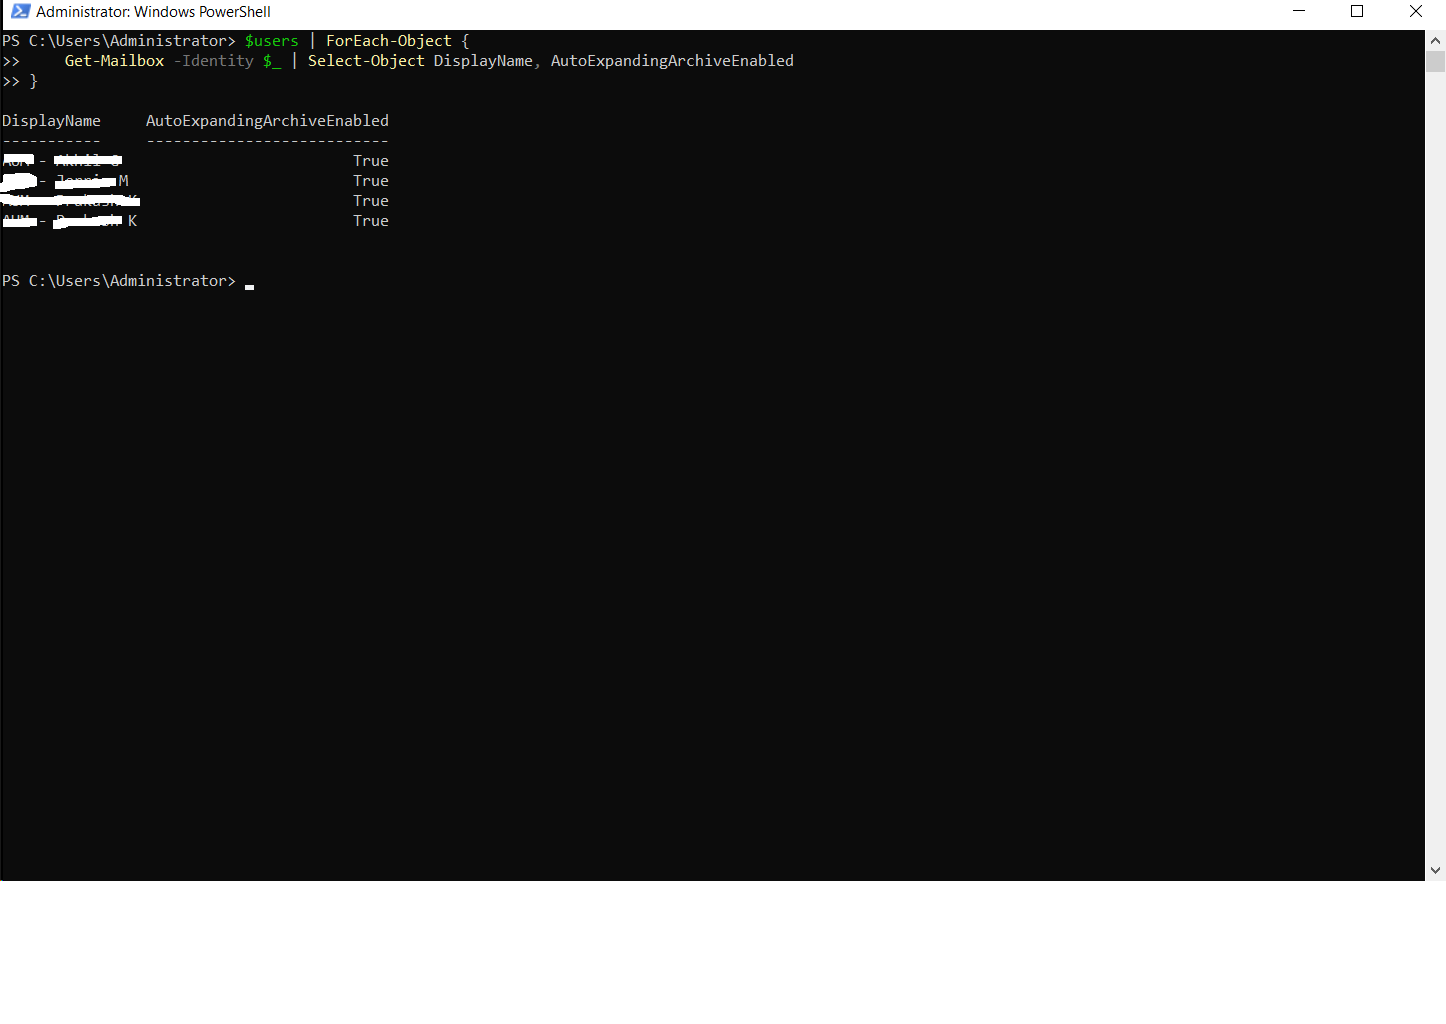
# Use the same list of users to check their status
$users | ForEach-Object {
    Get-Mailbox -Identity $_ | Select-Object DisplayName, AutoExpandingArchiveEnabled
}
Expected Output:
DisplayName                  AutoExpandingArchiveEnabled
-----------                  ---------------------------
User 1                       True
User 2                       True
User 3                       True
User 4                       True
If you see True, the feature is successfully enabled for the user's mailbox.
Step 4: Check Current Archive Size
Monitoring the size of the archive is key. The auto-expansion process begins when the archive mailbox reaches 90 GB. You can check the current usage with this command.
# Get archive statistics for the specified users
$users | ForEach-Object {
    Get-MailboxStatistics -Identity $_ -Archive | Select-Object DisplayName, TotalItemSize
}
Sample Output:
DisplayName                    TotalItemSize
-----------                    -------------
In-Place Archive - User 1      92.15 GB (99,010,483,302 bytes)
In-Place Archive - User 2      33.58 GB (36,058,114,354 bytes)
In-Place Archive - User 3      246 MB (257,949,696 bytes)
Step 5: Apply Retention Policy (Optional)
The Managed Folder Assistant is the background process that moves emails to the archive based on your retention policies. It runs automatically, but you can trigger it manually for a specific user to speed up the archiving process.
# Manually start the process for a single user
Start-ManagedFolderAssistant -Identity [email protected]
This is useful after assigning a new policy or for testing purposes.
Exchange Archiving Feature Comparison
Here’s a quick look at how archiving quotas compare across different Microsoft 365 plans.
| Feature | Exchange Online Plan 1 | Exchange Online Plan 2 / M365 E3/E5 |
|---|---|---|
| Primary Mailbox Size | 50 GB | 100 GB |
| Archive Mailbox Size | 50 GB | 100 GB (Initial Quota) |
| Auto-Expanding Archive | ❌ Not Available | ✅ Available (Up to 1.5 TB) |
| In-Place Hold & Litigation Hold | ✅ Available | ✅ Available |
Need Help? Get Professional Support
PowerShell is powerful, but sometimes you run into unexpected issues or need a custom solution. If you need assistance with complex scripts, troubleshooting, or managing your Microsoft 365 environment, expert help is available.
Frequently Asked Questions (FAQ)
Q1: I enabled Auto-Expanding Archive, but the size hasn't increased. Why?
Patience is key. The auto-expansion process is not instant. It begins automatically only when the archive mailbox approaches its limit (around 90 GB of the initial 100 GB). Microsoft then needs to provision additional storage on the backend, which can take several days to a few weeks, depending on the service load. You don't need to open a support ticket unless the mailbox becomes full and stops accepting new mail.
Q2: Can I enable this feature for the entire organization at once?
Yes, you can enable it for your entire organization with a single command. First, set the default behavior for new mailboxes, and then update all existing mailboxes.
# Set for all future mailboxes
Set-OrganizationConfig -AutoExpandingArchive

# Enable for all existing mailboxes (use with caution!)
Get-Mailbox -ResultSize Unlimited -Filter "RecipientTypeDetails -eq 'UserMailbox'" | Enable-Mailbox -AutoExpandingArchive
Warning: Running this on a large number of mailboxes can take a long time and consume significant resources. It's often better to target specific Organizational Units (OUs) or groups.
Q3: I received an error: "This task is not supported for the user's license type." What does it mean?
This error means the user does not have the required license for auto-expanding archives. As mentioned in the prerequisites, the user needs at least an Exchange Online Plan 2 or an Exchange Online Archiving add-on license. You must upgrade their license before you can enable the feature.
If you need help identifying and assigning the correct licenses, our remote support can assist.
Q4: Is there a hard limit to the archive size?
Microsoft currently provisions storage up to a total of 1.5 TB per user's archive mailbox. While often marketed as "unlimited," this is the practical limit. The space is added in increments (auxiliary archives) as needed, so users should never experience a "mailbox full" error for their archive.
Q5: How do I get remote help if my PowerShell script fails or I'm unsure?
If you're facing persistent errors or complex scenarios, professional guidance can save you time and prevent misconfiguration. You can get live help via:
- WhatsApp: Click the contact link in the support section for quick questions and freelance assistance.
- Remote Support Session: For hands-on troubleshooting, a remote session can be arranged. A technician can connect to your system securely to diagnose the issue and apply the correct solution. Use the "Remote Support" button to inquire.
Conclusion
Enabling Auto-Expanding Archives is a proactive step towards future-proofing your organization's email storage. By leveraging a few simple PowerShell commands, administrators can eliminate mailbox size limitations and ensure seamless email management for users with large data volumes. This automated solution allows IT teams to focus on more strategic tasks rather than constantly managing storage quotas.
For more detailed information, customized retention policies, or advanced automation, always consult Microsoft's official documentation or engage a trusted IT service provider.
For further reading and other IT solutions, visit our main site:
👉 https://nettechinfosys.com/